Stamping 101: From Material Deformation to Die Selection
September 14, 2026
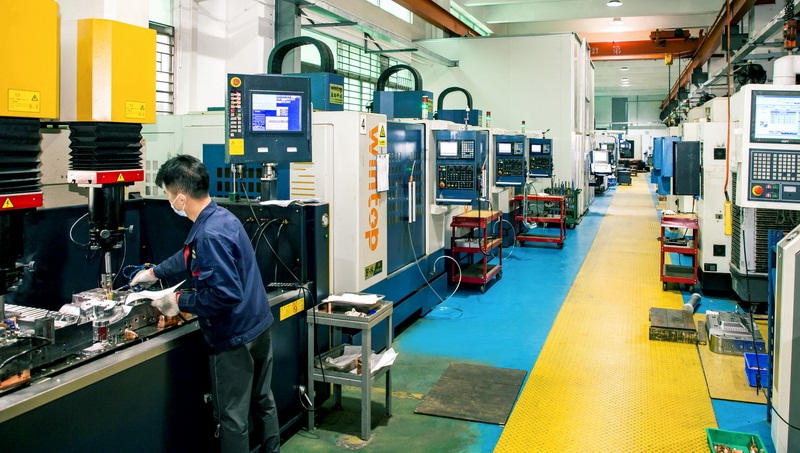
Stamping is one of those processes that looks simple until you're the one holding the die tryout report. At its core, it uses a press and a die to apply external force to sheet or strip metal, causing plastic deformation or separation to get the shape and size you need. The three pillars are the press, the die, and the material — get any one of them wrong and you're scrapping parts. In real production, a stamped part rarely forms in a single hit. It usually runs through multiple operations: blanking, bending, drawing, and forming. Each operation has its own demands on die clearance, tonnage, and material performance. For example, blanking clearance directly affects burr height and die wear, while drawing requires careful attention to blank holder force and material elongation to avoid tearing.
From a die-making standpoint, the details matter more than the theory. A progressive die for a simple bracket might need 0.05–0.08 mm clearance per side for cold-rolled steel, but switch to stainless or aluminum and those numbers shift. Bending springback varies with yield strength and thickness — you compensate in the die, not on the shop floor. Drawing dies often need radius and surface finish tweaks after the first tryout because the material supplier's coil properties drift batch to batch. This is why mold engineers and die makers stay involved from quoting through production: the quote has to reflect the real number of stations, the die material (SKD11, DC53, carbide inserts), and the expected maintenance cycle.
If you're sourcing stamping dies or trying to estimate a realistic quote, don't treat the process as a black box. Know your material, your press tonnage, and your tolerance stack-up before you ask for a price. For more mold sourcing information and supplier listings, visit MoldWorld at www.moldw.com.