The Complete Logic of Stamping Process: A Must-Read for Every Mold Engineer
September 02, 2026
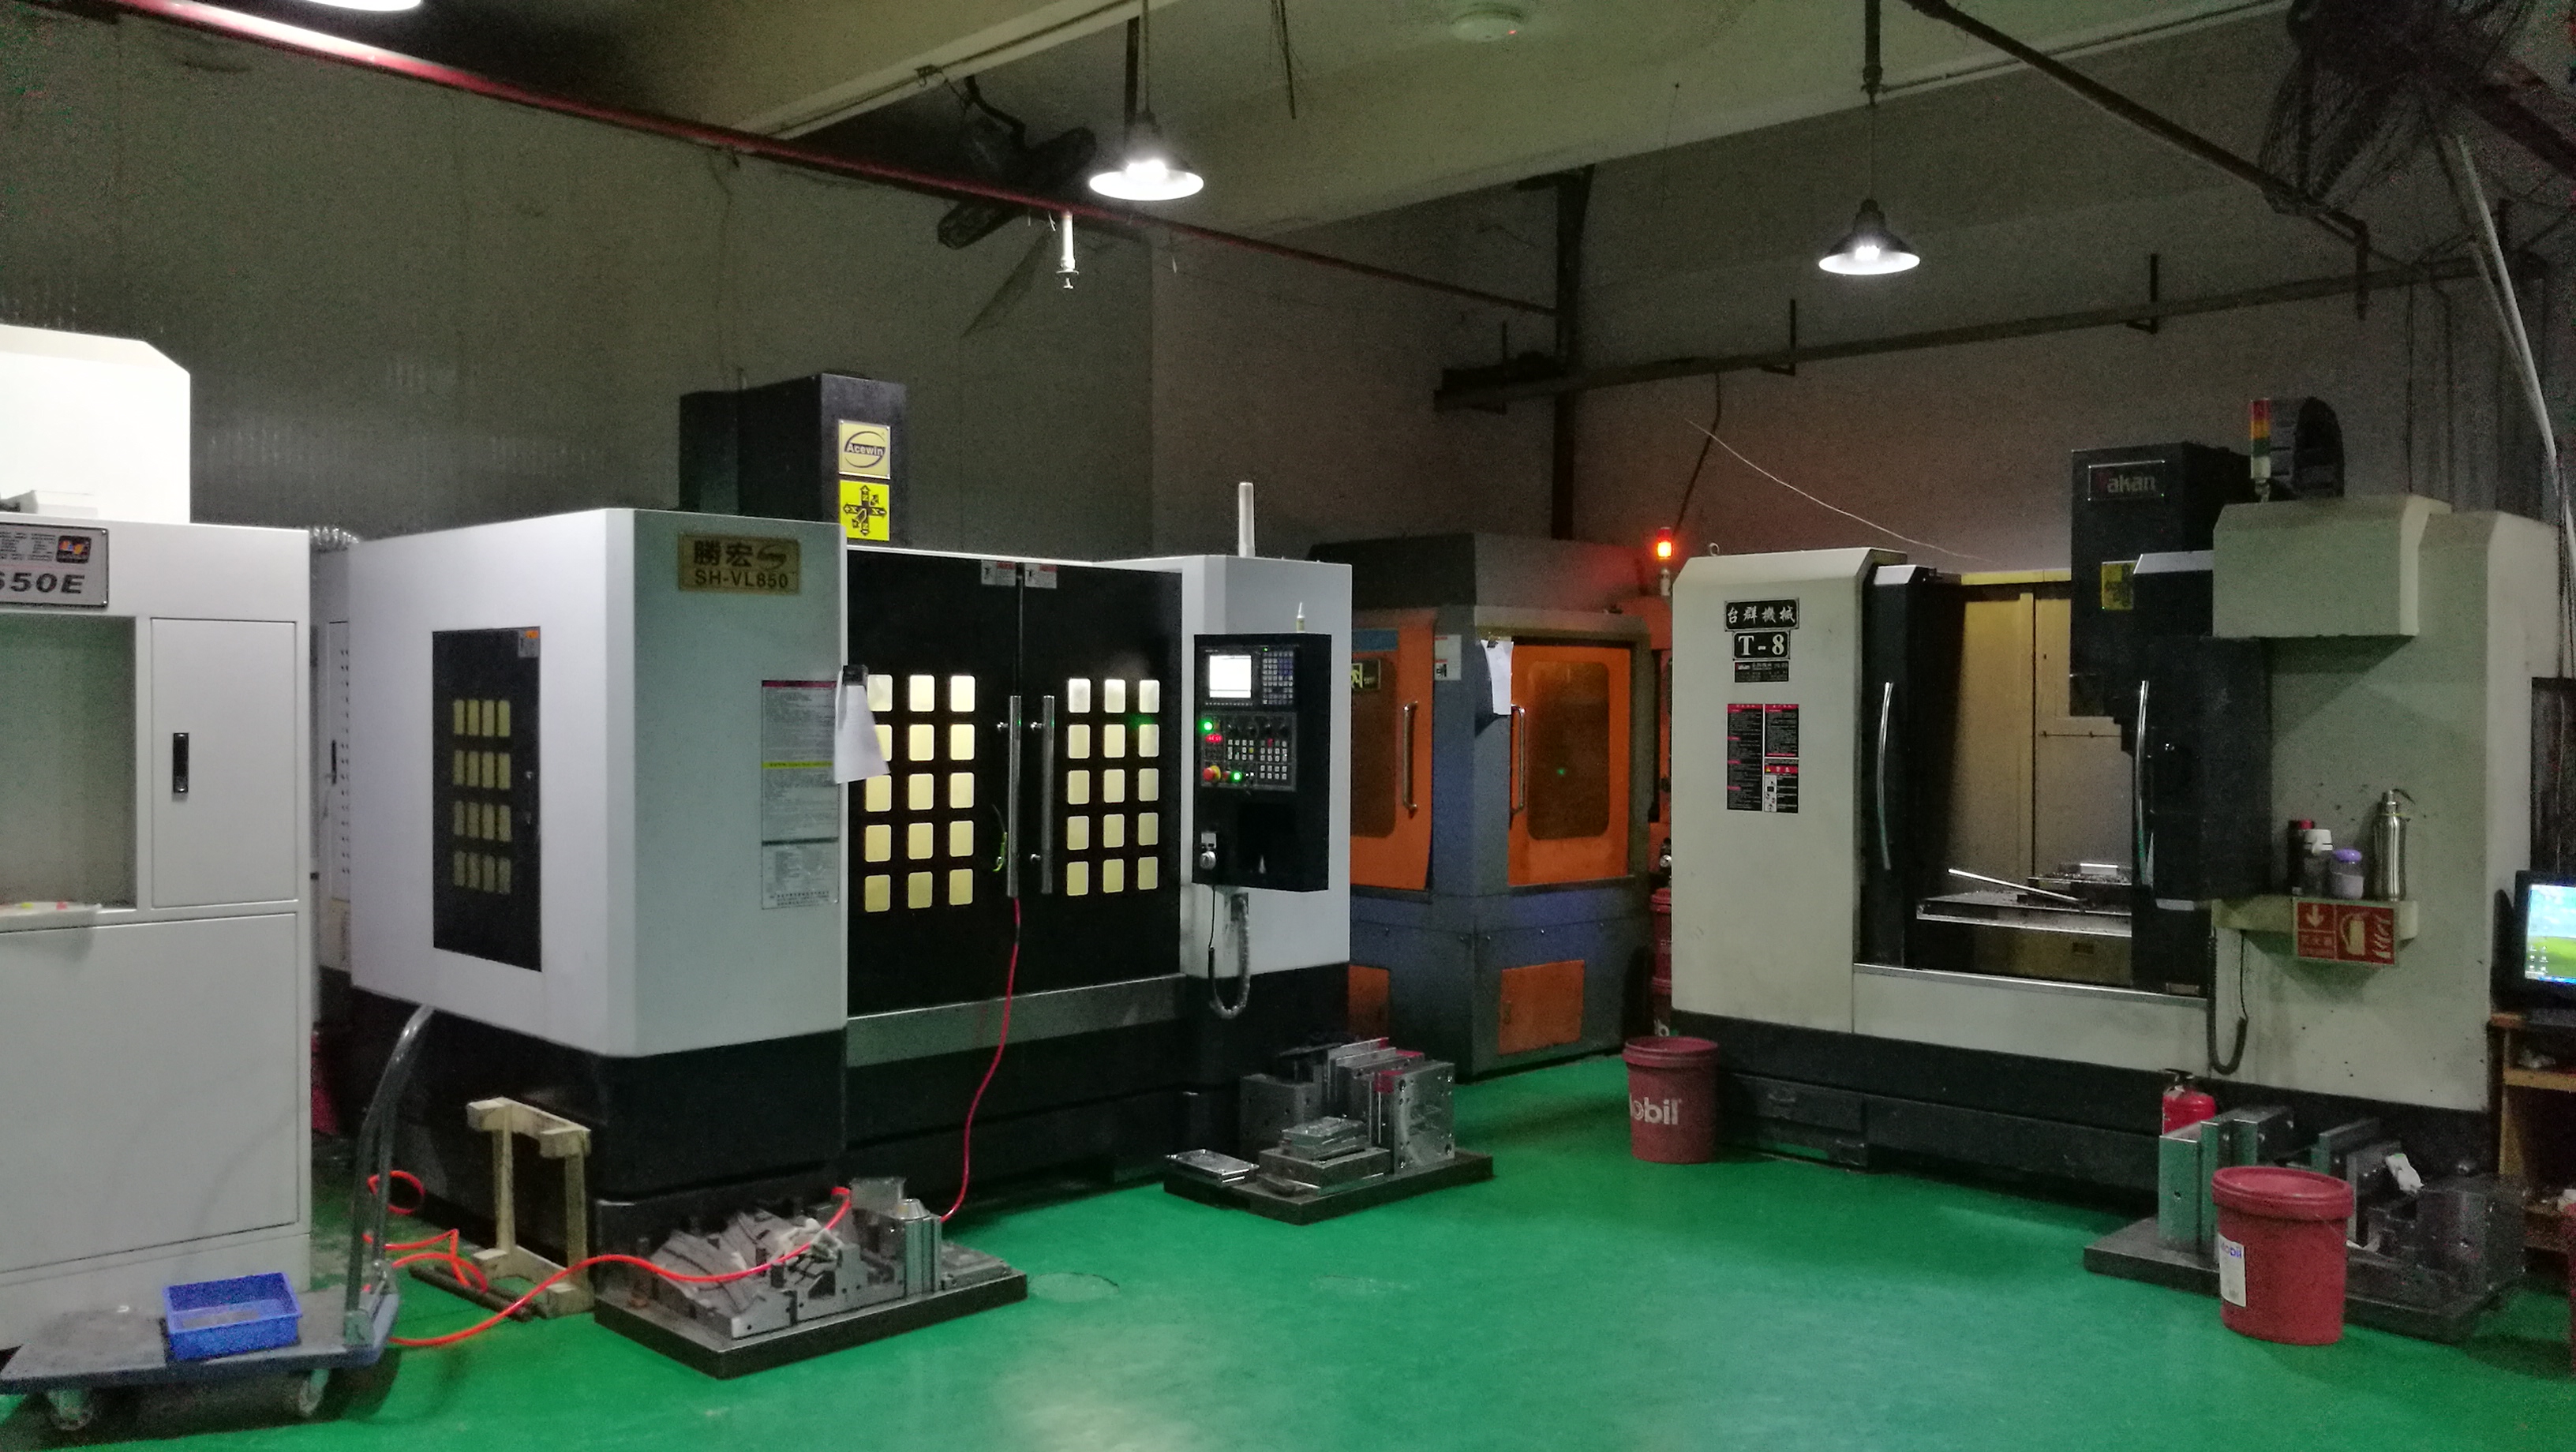
In stamping, the process sequence is not just a list of operations—it is the backbone of die design, cost estimation, and production stability. A truly complete stamping logic starts with part geometry analysis, not with the die layout. For example, when evaluating a bracket with a 2.0 mm thickness and a bend radius of 1.5 mm, the first step is to check the minimum bend factor against the material’s tensile strength. If the bend line is too close to a hole edge (less than 1.5 times the material thickness), you must either add a pre-piercing step or shift the bend line—otherwise, you risk tearing or excessive springback. This upfront decision directly affects the number of stations, the die cost, and the quoted unit price. Many shops skip this and later face costly rework during tryout.
Another critical layer is the strip layout logic, which balances material utilization against press tonnage and die complexity. For a progressive die with a 150-ton press, the pitch should be calculated based on the feed error and the pilot hole tolerance—typically 0.5 mm to 0.8 mm for medium-sized parts. If you design a carrier with a width of 3 mm on each side, but the part has a deep draw depth of 12 mm, you must verify the draw ratio and add a draw bead to control material flow. Otherwise, the flange will wrinkle or the wall will thin out beyond the 10% allowable reduction for SPCC steel. A robust process logic also includes a secondary trimming station after forming, because the edge geometry changes after springback—this is often overlooked in quoting, leading to under-priced dies that cannot hold ±0.1 mm tolerance.
Finally, the process logic must extend to die tryout and production feedback. A good rule of thumb is to run at least 300 trial parts before finalizing the die, checking burr height (should be below 0.05 mm for 2 mm thick mild steel) and dimensional drift. If the burr grows after 1,000 strokes, your clearance is too tight or the punch is not guided properly—this is a maintenance signal, not a die design error. In practice, every mold engineer should treat stamping as a closed loop: part analysis → strip layout → die structure → tryout → feedback into the next quote. For more detailed mold sourcing and process benchmarking, visit MoldWorld at www.moldw.com—a practical resource for comparing die costs, material standards, and shop capabilities across regions.