Optimizing Injection Molding Parameters: A Practical Guide to Full-Process Control
September 02, 2026
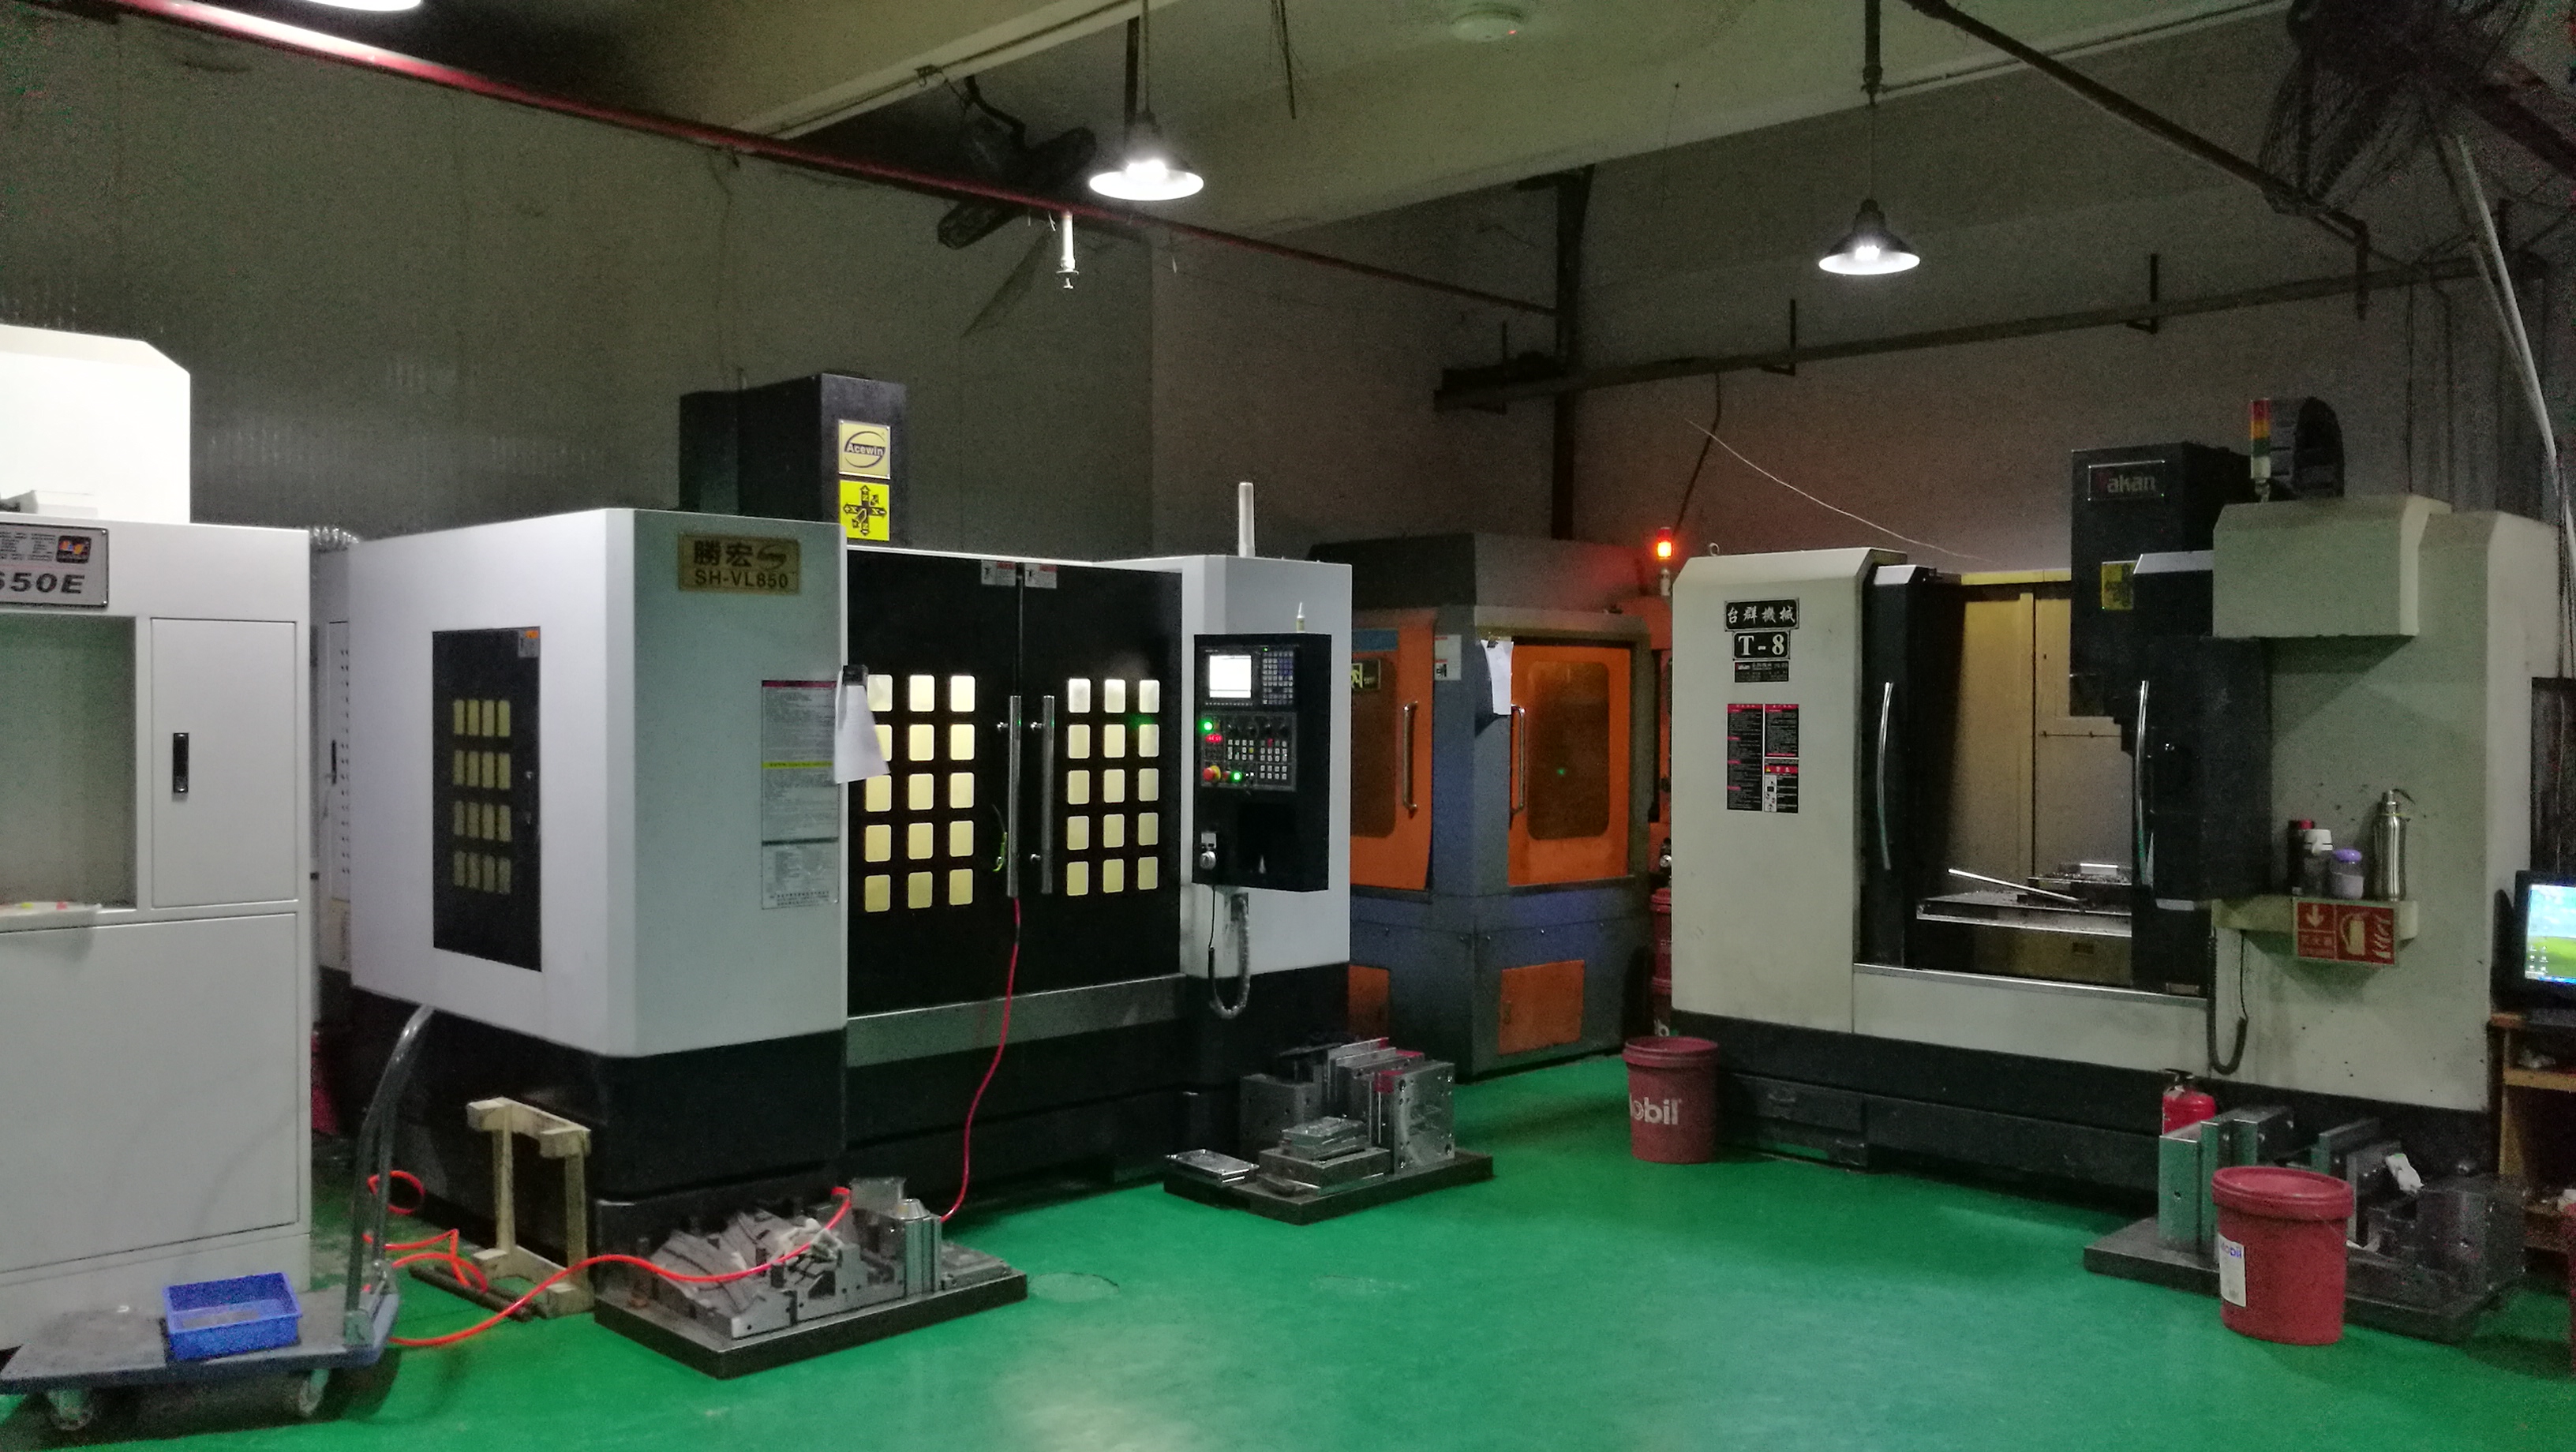
In any injection molding shop, the gap between a good mold and a good part is bridged by disciplined parameter control. Start with the barrel temperature profile: for semi-crystalline resins like POM or PA66, a delta of 10–15°C between the rear and nozzle zones prevents degradation while ensuring full plasticization. Real-world data shows that a melt temperature just 8°C above the recommended window can increase flash incidence by 23%, especially on molds with poor venting. Equally critical is the injection speed profile—slow first-stage fill (10–20 mm/s) through the gate reduces shear stress and jetting, then a rapid second stage (60–80 mm/s) fills the cavity before the material freezes. We often log the actual screw position at the switchover point; if it deviates by more than 2 mm from the set value, check the non-return valve for wear before touching any other setting.
Packing pressure and time are where most molders lose dimensional stability. For a typical ABS housing, a two-stage packing curve—high pressure (75–85% of injection pressure) for the first 1.5 seconds, then a stepped drop to 40% for the remaining 2 seconds—reduces sink marks and internal voids without over-packing the gate area. Cooling time should be calculated from the nominal wall thickness, not guessed: for a 2.5 mm wall in PC/ABS, a coolant temperature of 60°C with a flow rate of 6 L/min yields a cycle time of 28 seconds, but dropping the coolant to 40°C cuts that to 24 seconds at the risk of higher molded-in stress. When you see warpage, always check the differential between cavity and core surface temperatures first—a 15°C difference is acceptable, but beyond 20°C, you need to balance the cooling circuit or add bubblers in deep ribs.
Finally, do not underestimate the influence of backpressure and screw RPM on part consistency. Running a glass-filled nylon at 0.4 MPa backpressure with a screw speed of 80 RPM gives a uniform melt, but increasing the backpressure to 0.8 MPa will raise melt temperature by nearly 6°C and can cause splay marks at the gate. Track the cushion size every cycle—a stable 3–5 mm cushion means the shot is consistent; if it fluctuates by more than 1 mm, the melt viscosity is shifting, so check the hopper dryer’s dew point. For real-world troubleshooting, keep a parameter change log with timestamps and part photos. When you need more mold sourcing or process references, visit MoldWorld (www.moldw.com) for a practical database of tooling specs and molding guidelines.