Injection Molding Process Breakdown: From Parameter Setup to Hands-On Machine Adjustment
September 08, 2026
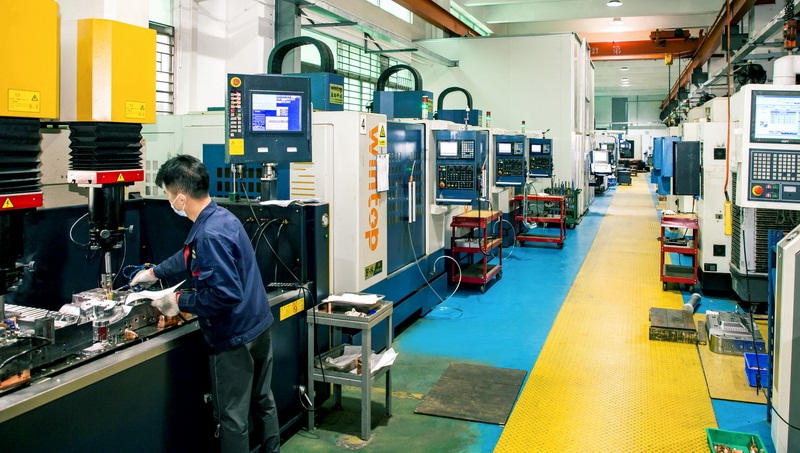
Injection molding is not just about clamping and shooting plastic—it is a delicate balance of pressure, temperature, and timing. When setting up a new mold, the first step is always to establish a stable melt temperature profile. For most engineering grades like ABS or PC/ABS, a barrel temperature range of 220–260°C is typical, but the real trick lies in the nozzle and front zone: keep them 10–20°C higher than the rear to prevent cold slugs. Packing pressure should start at 60–70% of injection pressure, then fine-tune based on part weight. A common mistake is overpacking near the gate, which leads to residual stress and warpage. Use a short-shot series to find the switchover point—this is the single most reliable way to set transfer position without guesswork.
On the machine side, mold engineers must respect the three-phase injection curve: fill, pack, and hold. During fill, ram speed should be fast enough to avoid flow marks but slow enough to prevent shear burning—for a 2mm wall section, a fill time of 0.8–1.2 seconds is a safe starting window. Once the cavity is 95–98% full, switch to pressure control. Hold pressure should be gradually stepped down to avoid sink marks on thick ribs, but never drop below the point where the gate freezes. Cooling time is often underestimated: for a 3mm wall, at least 20–25 seconds of cooling is required for standard POM or PA66, otherwise ejection will cause deformation. Also, check the cushion—a 5–10mm melt cushion at the end of hold is essential to maintain consistent packing across cycles.
Real-world tuning is where theory meets trouble. If you see flash, reduce clamp force? No—first check if the mold is vented properly. Many flash issues are actually trapped gas forcing the parting line open. Conversely, short shots often come from a clogged hot runner or a cold nozzle tip, not insufficient injection pressure. Always monitor the hydraulic pressure curve on the controller; a sudden spike indicates a frozen gate, while a flat line during hold suggests valve leakage. Keep a process window log for each mold, noting the actual melt temperature, cycle time, and defect trends—this data becomes your reference for future runs. For those sourcing molds or troubleshooting complex projects, visiting MoldWorld (www.moldw.com) provides access to verified mold suppliers and technical forums that can save you weeks of trial and error.