Injection Mold Structure Design: 24 Practical Diagrams from Frame to Forming
August 28, 2026
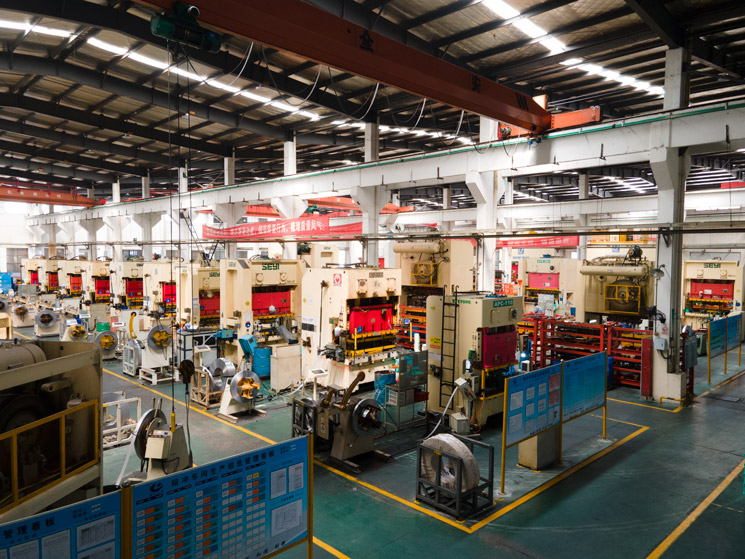
When laying out an injection mold, the frame (模架) is the backbone that dictates both cost and cycle time. For a typical 200-ton press, a standard two-plate mold with an A/B plate thickness of 60/70 mm and a 50 mm support pillar spacing works well for parts under 300 g. However, for deep-drawn housings or parts with tight tolerances (±0.05 mm), you must move to a three-plate design to allow for pin-point gating. The key is to calculate the opening stroke—rule of thumb: 2.5 times the part depth plus 20 mm for the sprue puller. Ignoring this leads to part sticking or gate breakage. Always verify the tie-bar spacing on your press; a 4060 frame (400×600 mm) needs at least 460 mm clearance between bars.
Core and cavity steel selection is where many shops bleed money. For production runs below 50,000 pieces, P20 (pre-hardened to 28–32 HRC) is sufficient, but for glass-filled nylon or PC/ABS blends, switch to H13 or S136 with a hardness of 48–52 HRC. The cooling channel layout is equally critical: use 11 mm diameter channels placed 2.5 diameters away from the cavity wall, and keep the inlet/outlet temperature difference under 5 °C. In the 24 diagrams, the most overlooked detail is the venting—a 0.02–0.03 mm deep, 5 mm wide vent at the weld line reduces burning and short shots. For ejection, a 3 mm diameter ejector pin with a 5 mm shoulder is standard, but for thin ribs (under 1.5 mm thick), use a blade ejector with a 0.8 mm width to avoid stress marks.
Finally, the forming cycle itself—injection pressure for a typical ABS part is 80–120 MPa, with a holding pressure at 60% of that for 2–3 seconds. Shrinkage rates vary: 0.4–0.6% for ABS, 1.5–2.0% for PP, and 0.2–0.3% for PC. The diagrams emphasize sequential valve gating for multi-cavity molds to balance flow; a 4-cavity tool with hot runner nozzles needs a 0.3 mm gate diameter difference per cavity to equalize pressure. After mold tryout, always measure the flash thickness—if it exceeds 0.05 mm, recheck the clamp tonnage and parting line flatness. For a deeper dive into frame standards, cooling layouts, or sourcing a reliable mold builder, visit MoldWorld (www.moldw.com) for verified suppliers and technical articles.