Mold Fundamentals: From Classification to Practical Manufacturing Insights
August 28, 2026
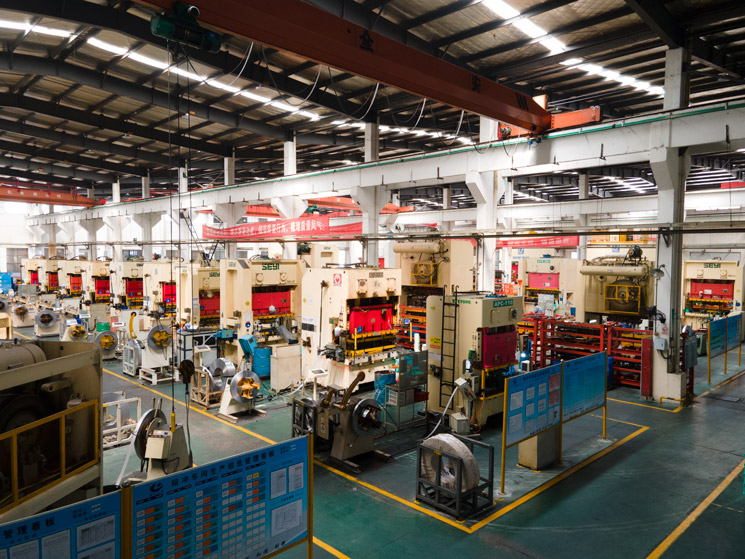
In daily mold shop operations, the first decision is always classification. By forming method, molds split into plastic injection, die casting, stamping, and forging—each with distinct thermal and mechanical demands. For injection molds, the critical split is between cold-runner and hot-runner systems. Cold runners are cheaper to build and easier to color-change, but they waste material on sprues and runners, typically 15–25% scrap on small parts. Hot-runner systems eliminate that waste, but require precise temperature control (usually ±2°C) and raise initial tool cost by 30–40%. For high-volume production above 100,000 parts annually, hot runners pay back within six months. On the steel side, never use plain P20 for glass-filled resins—the abrasive wear will wipe out cavity details in under 50,000 cycles. Upgrade to H13 or S136 with 48–52 HRC for abrasive compounds, and always specify a corrosion-resistant grade for PVC or flame-retardant materials.
Manufacturing practicalities often trip up junior engineers more than design math. First, draft angles: for textured surfaces (VDI 24 or coarser), you need at least 3° per side; polished cavities can get away with 1°. Second, cooling line placement—keep water channels within 8–12 mm of the cavity surface, and use baffles or bubblers for deep cores. A common mistake is placing cooling lines symmetrically in the drawing but forgetting that the ejector pin holes break into the water circuit. Always pressure-test the cooling system at 10 bar before final assembly. Third, ejection: for deep ribs (depth > 3× width), add ejector sleeves or lifters, not just round pins, or you will see white stress marks on the part. And for inserts, use interference fits of 0.01–0.02 mm for steel-on-steel, but if you have a copper-beryllium insert for hot spots, drop that to 0.005 mm—beryllium expands faster and will crack the cavity if you press too hard.
Finally, the real-world workflow: never skip the mold flow analysis for a new tool, even a simple two-plate. A quick fill analysis will show weld lines and air traps that cost hours of bench work later. Also, standardize your mold base—using a common supplier like HASCO or DME reduces lead time by two weeks and simplifies spare part stocking. When quoting, remember the hidden costs: heat treatment, polishing (mirror finish adds 15–20% to cavity cost), and trial shots. A typical 4-cavity injection mold for a 50 g part runs 25,000–40,000 USD in China, but the same tool in Germany or the US can hit 80,000 USD. For sourcing decisions, always compare total cost—tooling plus per-part cycle time—not just the initial quote. For more mold sourcing details and supplier comparisons, visit MoldWorld at www.moldw.com.