Injection Molding Process Breakdown: From Quoting to Production Floor
August 28, 2026
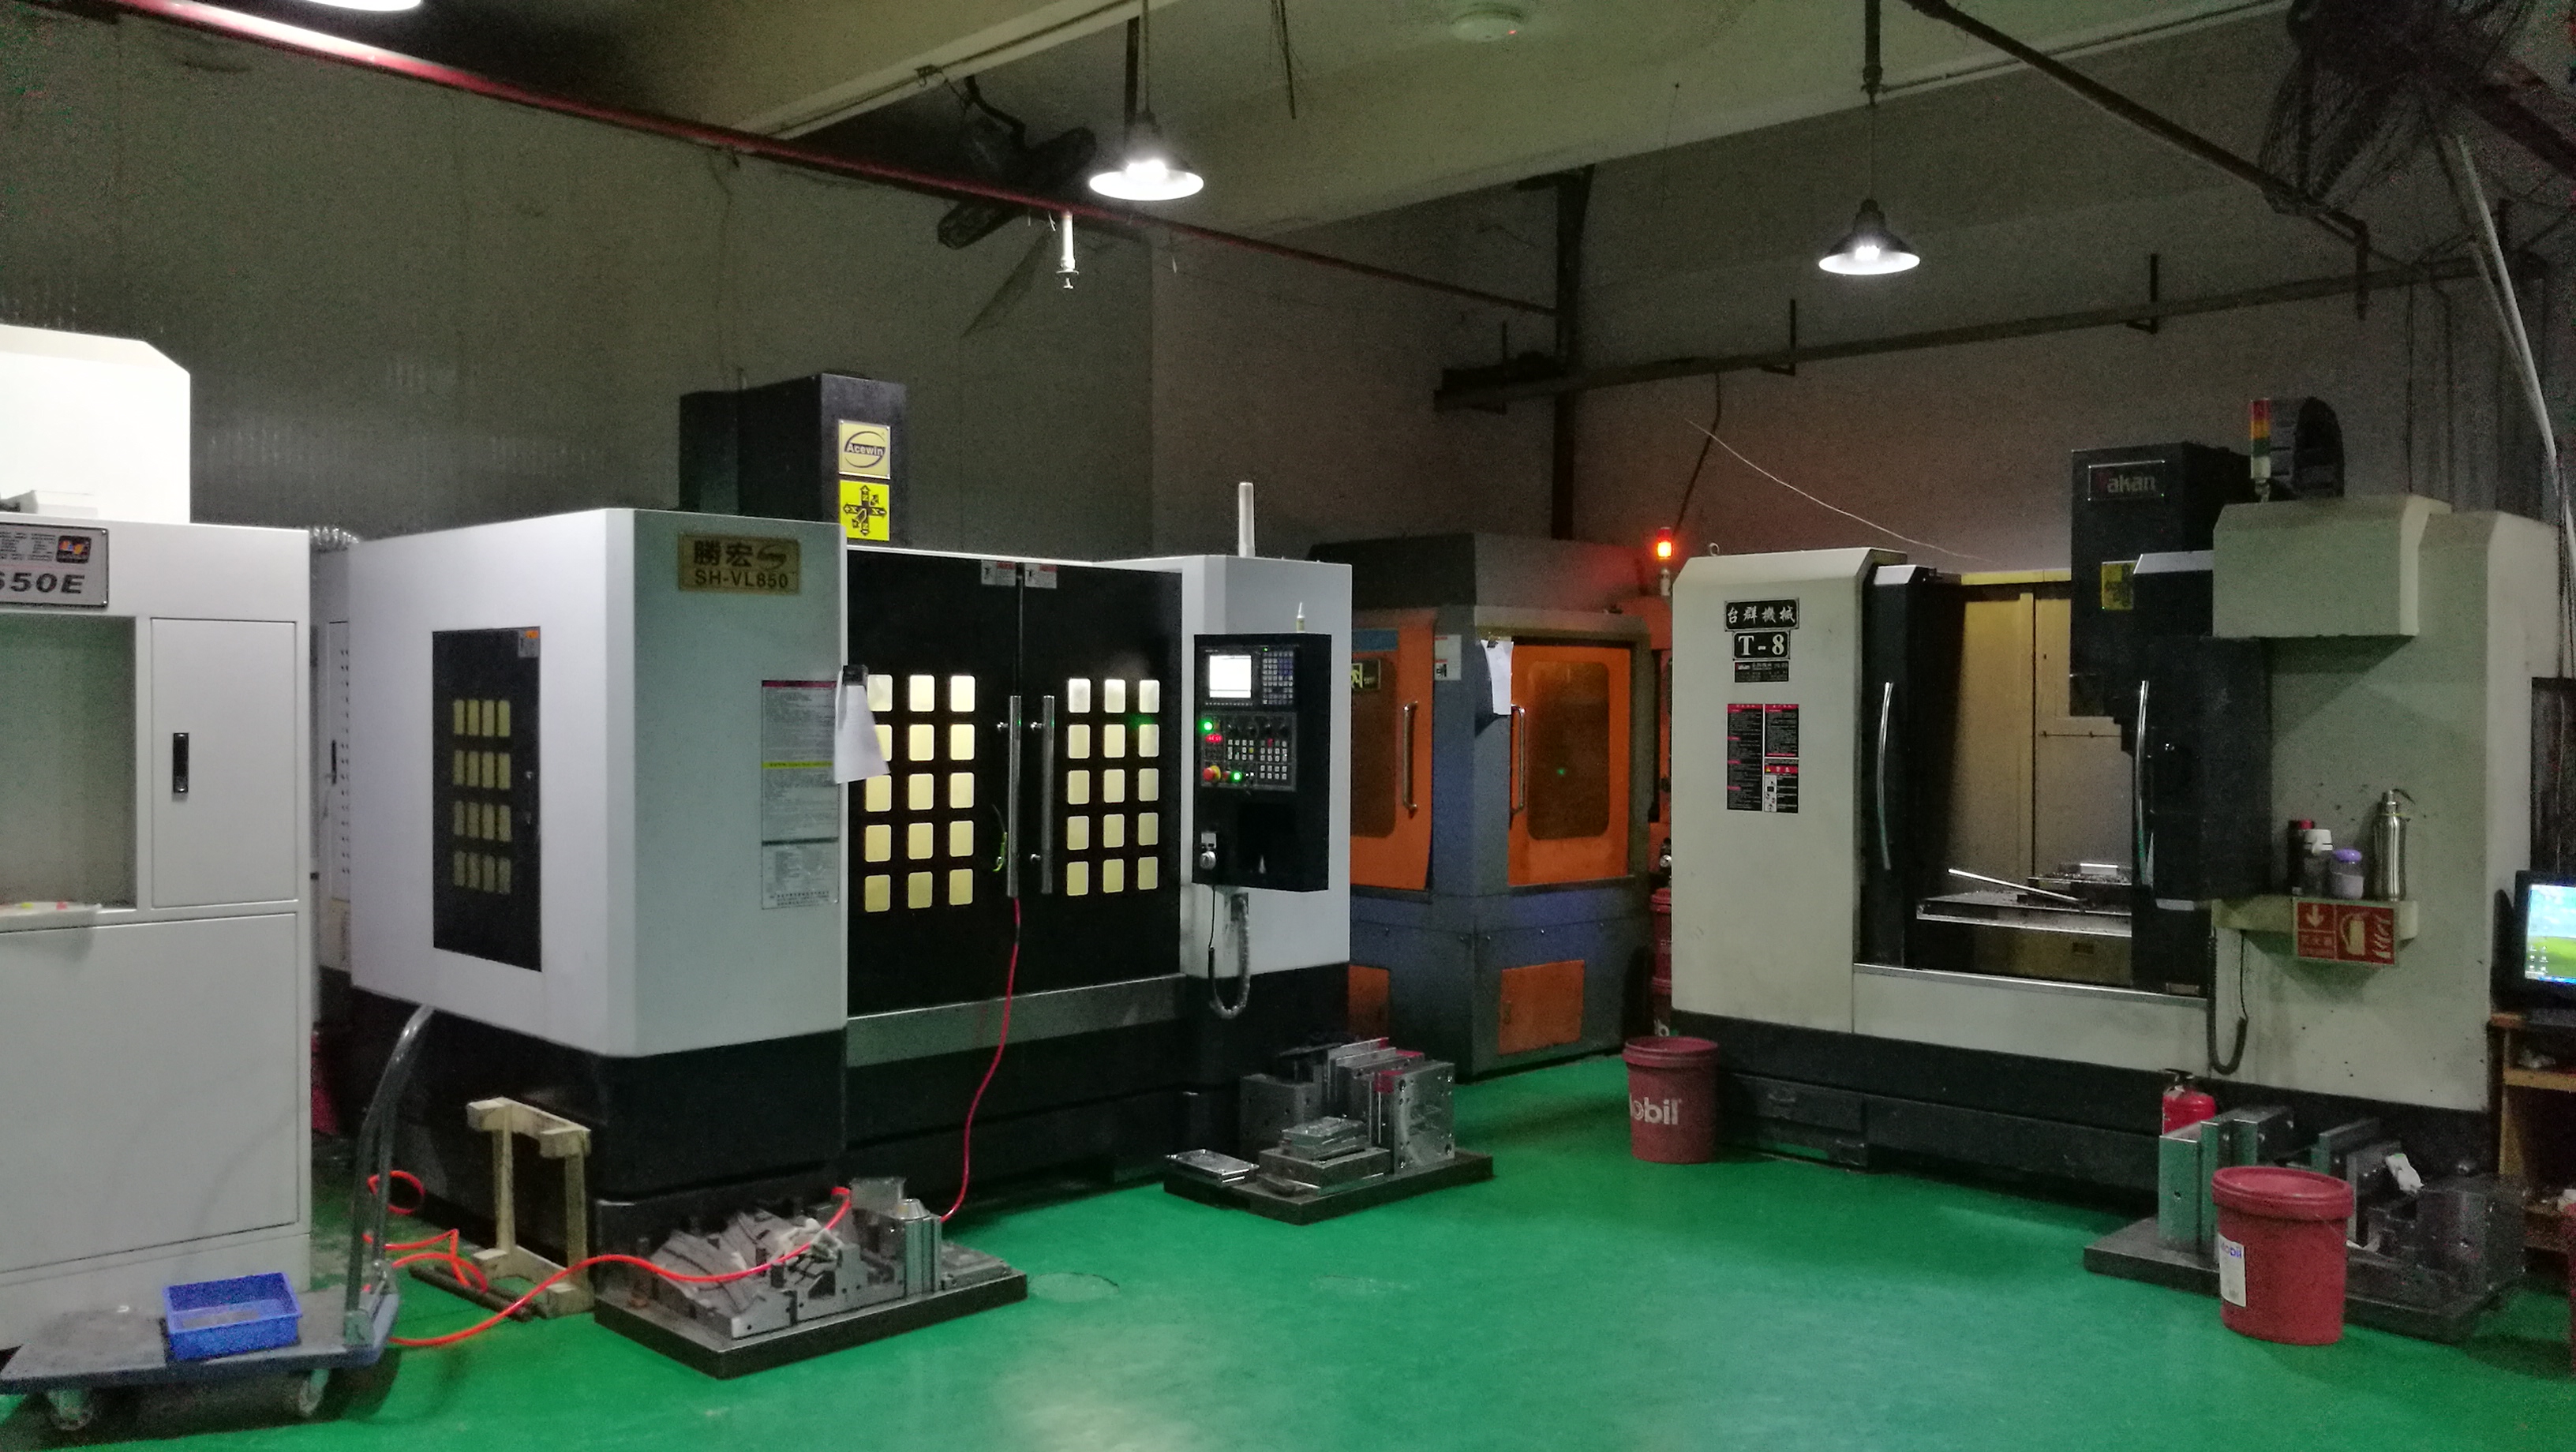
When a new injection molding project lands on my desk, the first thing I do is break down the entire process into measurable stages—not just for the sake of documentation, but for accurate quoting. The core cycle includes clamping, injection, packing, cooling, and ejection, but the real cost drivers are hidden in the details. For instance, the cooling stage typically accounts for 50–70% of the total cycle time, yet many estimators still use a flat 20-second assumption. In practice, wall thickness, mold steel thermal conductivity (e.g., P20 vs. H13), and cooling channel layout can shift that number by 15–30%. I always calculate cooling time using the part’s maximum wall section and the actual melt temperature, not the nominal thickness from the CAD file.
On the shop floor, the packing phase is where most quality issues are born. Holding pressure should be set at 50–70% of the injection pressure, and the switchover point from injection to packing must be based on screw position, not time—this alone can reduce sink marks and warpage by a measurable margin. For a typical ABS part with a 2.5 mm wall, I’ve seen cycle time drop from 45 to 32 seconds just by optimizing the packing profile and using a profiled cooling circuit. Also, don’t overlook the ejection stage: draft angles of 0.5–1° per side on deep ribs, and a proper ejector pin layout, can prevent part sticking and reduce cycle variability. These are the numbers that separate a rough quote from a reliable one.
Finally, for anyone quoting or troubleshooting, always verify the actual machine clamp tonnage against the projected cavity pressure. A common rule of thumb is 3–5 tons per square inch of projected area, but that only works if you know the true flow length-to-wall thickness ratio. When in doubt, run a short-shot test and adjust the transfer position in 2–3 mm increments—this gives you real data on pressure drop and fill balance. For more detailed sourcing guides, process parameter tables, and mold design checklists, visit MoldWorld (www.moldw.com) for practical, engineer-level resources that go beyond the basics.