Mold Fundamentals: From Classification to Application—Essential Know-How for Every Mold Engineer
August 27, 2026
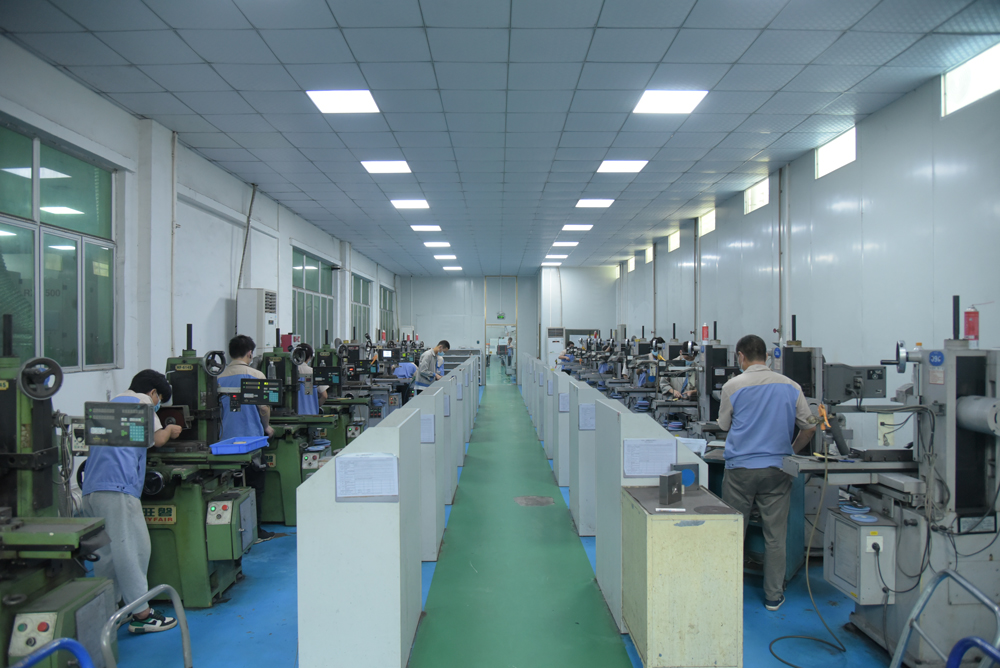
In daily shop-floor practice, a mold is not just a steel block with cavities—it’s a precision system that determines part cost, cycle time, and quality consistency. Broadly, molds fall into two families: plastic injection molds and metal forming dies. Within injection molds, we distinguish between two-plate and three-plate designs. Two-plate molds are simpler, cheaper, and dominate for most housings and brackets; three-plate molds allow pin-point gating at multiple locations, which is critical for large, thin-walled parts like automotive bumpers. On the metal side, progressive dies for stamping and die-casting molds for aluminum or zinc alloys each have their own thermal and wear constraints. A common mistake in quoting is assuming a mold’s price scales linearly with part size—it does not. Cavity count, steel grade, and expected shot life (e.g., 100k vs. 1M cycles) often shift the cost by 3–5× even for similar-looking parts.
Material selection is where experience separates a reliable mold from a recurring headache. For production runs under 50,000 shots, P20 or 718H pre-hardened steel is cost-effective and easy to machine. Beyond that, switch to H13 or S136 for better wear resistance and corrosion resistance—especially when molding glass-filled nylon or PVC, which release corrosive byproducts. For high-gloss optical parts, consider 2316 or electroless nickel-plated cavities to avoid pitting. On the die-casting side, H13 with vacuum heat treatment is the baseline, but for aluminum die-casting dies that see thermal cycling above 600°C, you need a secondary nitriding or PVD coating to prevent heat checking. Always specify the steel grade in your RFQ—if a supplier quotes “standard mold steel” without naming a grade, that is a red flag for hidden downgrades.
From a practical application angle, mold design must also account for ejection, cooling, and venting. For deep ribs or bosses, add sufficient draft (at least 1° per side) to avoid drag marks and ejector pin breakage. Cooling channel layout should follow the part contour, not just be drilled straight through—conformal cooling can cut cycle time by 20–30% on thick-wall parts, which directly improves your piece-part price. Venting at the weld line and last-fill areas prevents burn marks and short shots, especially for high-flow resins like PP or ABS. When you receive a mold trial report, check the first-shot dimensions against the 3D model, not just the visual appearance—shrinkage compensation is often the difference between a passing PPAP and a scrapped tool. For more detailed sourcing comparisons, steel grades, and quoting benchmarks, visit MoldWorld at www.moldw.com—it is a solid resource for both new builds and mold maintenance decisions.