Title: Applying Heat Transfer Fundamentals to Injection Mold Design: From Heat Flux to Boundary Conditions
August 25, 2026
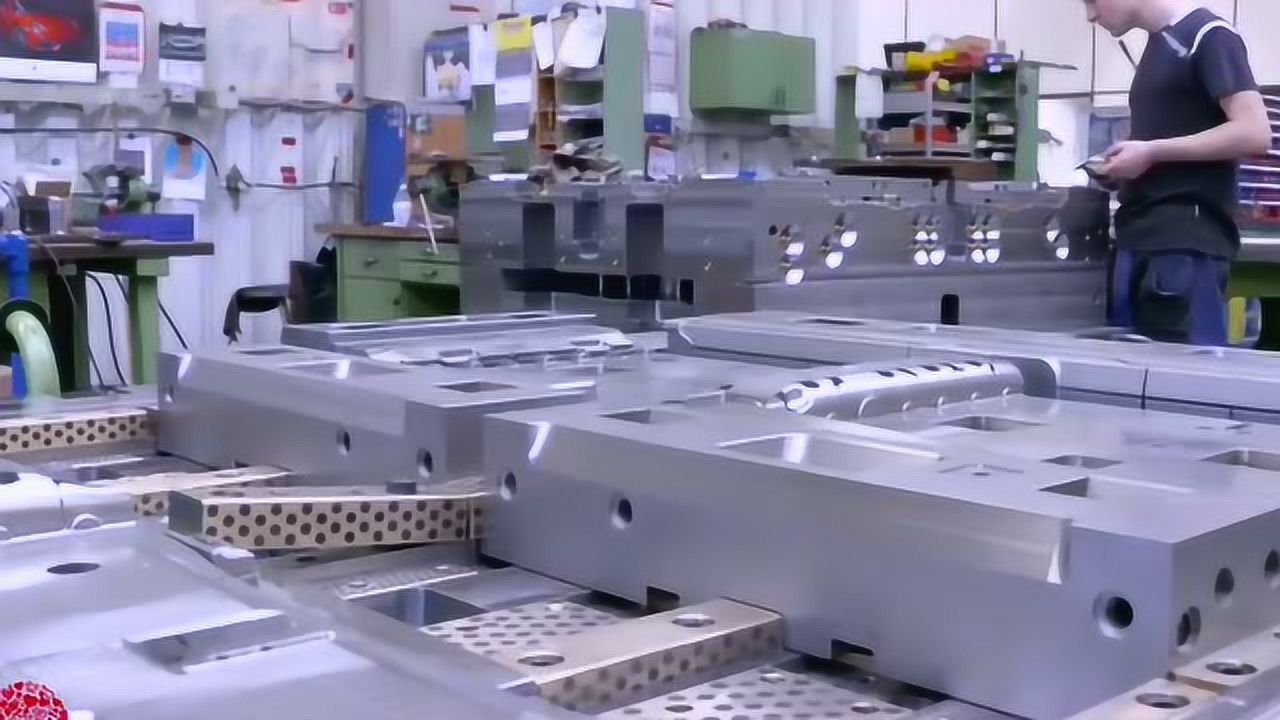
In injection mold design, heat transfer is not a theoretical afterthought—it is the backbone of cycle time, part quality, and tool longevity. When we talk about heat flux, we are essentially quantifying how much thermal energy must be removed from the polymer melt per unit area per second. For a typical ABS part with a 2.5 mm wall thickness, the peak heat flux at the cavity surface can easily exceed 150 kW/m² during the packing phase. This is not a steady-state problem; it is a transient one, and the mold steel’s thermal diffusivity (e.g., P20 at roughly 1.2 × 10⁻⁵ m²/s) determines how quickly that energy can be pulled away from the polymer skin. Ignoring this leads to hot spots, sink marks, and extended cooling times—often 60–70% of the entire cycle.
Boundary conditions are where the real engineering happens. The interface between the mold insert and the cooling channel is not a perfect conductor—there is a contact resistance that depends on surface roughness, clamping pressure, and the presence of air gaps. In practice, we see heat transfer coefficients (HTC) at this interface ranging from 1,000 to 5,000 W/m²·K, depending on whether we use conventional drilled channels or conformal cooling with additively manufactured inserts. The coolant side matters just as much: turbulent flow (Reynolds number above 4,000) is non-negotiable for consistent HTC, and a 10°C rise in coolant temperature across the circuit can shift the local mold surface temperature by 8–12°C, which directly affects shrinkage and warpage. Many mold builders underestimate the effect of channel diameter and pitch—reducing pitch from 3D to 2D of the wall thickness can cut cooling time by up to 25%, but only if the pressure drop stays within the pump’s capability.
In daily practice, we often simplify the heat transfer problem into three zones: the polymer–steel interface (where the heat flux enters), the steel bulk (where conduction dominates), and the steel–coolant interface (where convection takes over). Each zone has its own resistance, and the total thermal resistance chain dictates the achievable mold surface temperature uniformity. For high-cavitation tools, running a mold thermal simulation with real boundary conditions—not just a constant temperature assumption—is the difference between a first-shot success and a week of trial-and-error. Start with the heat flux from the polymer data sheet, verify the coolant flow rate with a flow meter, and measure the actual mold surface temperature with thermocouples near the gate and the end of fill. That data will tell you more than any generic rule of thumb. For more practical insights on mold cooling design, sourcing, and tooling standards, visit MoldWorld at www.moldw.com.