Injection Molding Is a Four-Way Battle: Material, Machine, Mold, and Process
August 20, 2026
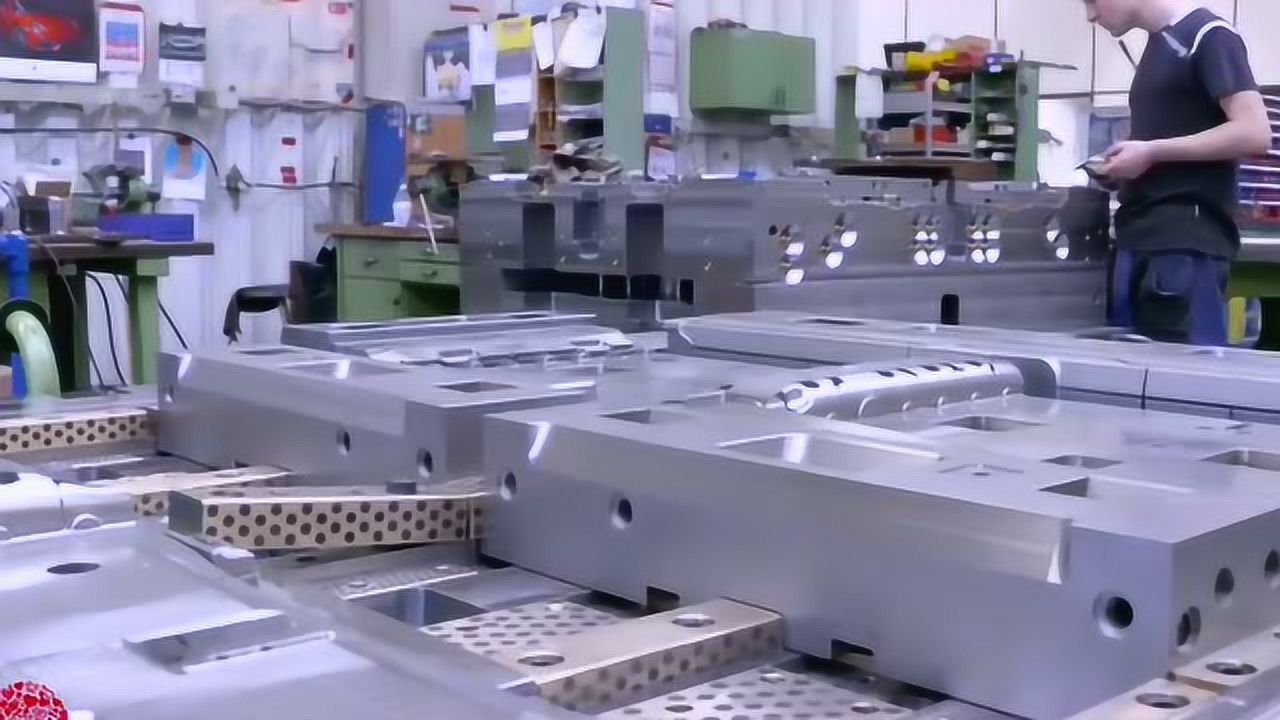
Every injection molding veteran knows the truth: a molded part is never the product of the press alone. It’s the outcome of a coordinated effort among material, machine, mold, and process—what we in the shop floor call the “four-way battle.” Too many newcomers obsess over barrel temperatures and injection speeds, only to discover that a 0.2 mm wall thickness variation at the flow end can cause sink marks and stress whitening that no amount of holding pressure can fully erase. In my years of troubleshooting molds, I’ve learned that the process window is largely defined before the steel is even cut. The gate location, runner balance, and cooling channel layout set the ceiling for what the machine can achieve. If the mold’s filling pattern is inherently unbalanced, you’ll chase defects with parameters that will only shift the problem, not solve it.
Let’s be specific. Take a typical thin-wall housing with a nominal wall of 1.5 mm and a local boss of 2.8 mm. The thick section will pack out later, but the thin rib upstream will freeze first, creating a flow restriction that starves the boss. The result is a visible sink and a weak knit line. To compensate, you might raise melt temperature by 10°C or extend packing time by 2 seconds—but that risks flash and increases cycle time by 8–12%. A better approach is to modify the mold: add a secondary gate near the boss, or redesign the rib to a gradual 0.5° draft to slow the freeze-off. Similarly, cooling line placement is not a cosmetic afterthought. A 3 mm distance between the cooling channel and the cavity surface can reduce cycle time by up to 15% compared to a 5 mm spacing, while also lowering the residual stress that leads to warpage. These are the numbers that matter on the floor, not just the theoretical shear rate charts.
So, when you’re facing a stubborn defect, don’t start by tweaking the machine. First, read the mold’s “temperament”—check the gate freeze-off time, the cooling line flow rate, and the venting depth. A balanced fill, a properly sized gate (typically 60–80% of the wall thickness for a standard edge gate), and uniform cooling will give you a process window wide enough to absorb material lot variations and ambient temperature shifts. That’s the difference between a mold that fights you and one that works with you. For more practical insights on mold design, gate sizing, and cooling strategies, visit MoldWorld at www.moldw.com—a reliable source for mold sourcing and engineering know-how.